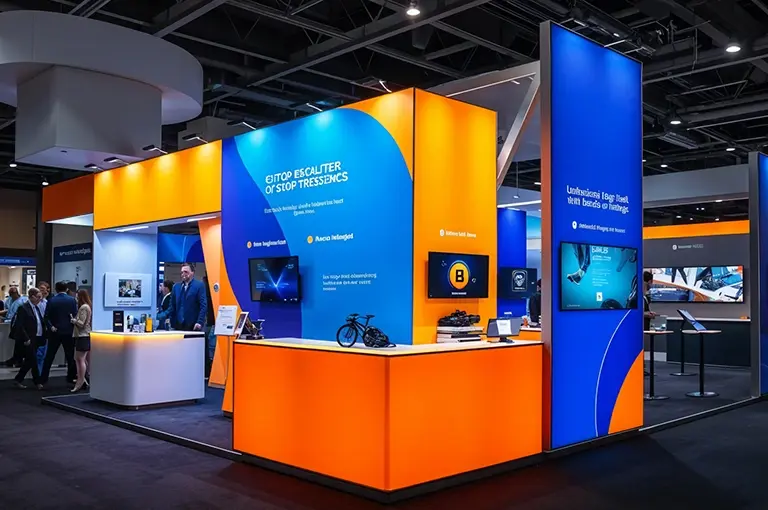


There’s one thing that’s obvious when customers walk into any branded event, campaign or trade show: brands are always looking forward to getting noticed. With a plethora of booths competing for the spotlight, the ones that actually manage to steal the show are the ones that make people pause, engage and subsequently, be remembered.
Nowadays, it’s not about how big your booth is: the emphasis is more on the visibility, the shared experience and make customers feel valued. That’s how step and repeat banners enter the picture. It’s more than a backdrop that carries your brand logo or a backdrop for photos. It helps put customers in focus, captures clean branded visuals, and turns quick interactions into moments worth sharing even after the event ends.
In this blog, we will be discussing 7 practical ways businesses can put step and repeat banners to use. So, without any further ado, let’s get into it!
Popular Products


1. Turn Customers into the Visual Focus of Your Event
The best kind of customer experience businesses can create is through moments that make customers feel celebrated. Step and repeat banners are natural mediums that attract customers towards them. This approach highlights making customers shine with custom photo backdrops while subtly reinforcing your brand identity in every captured moment. Attendees are naturally seen engaging with it, and subsequently sharing the experience on their respective social media accounts.
2. Design the Backdrop for Photography-First Branding
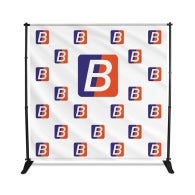
Event photographs are no longer about documentation to be preserved. Instead, they are shared on social media platforms, professional websites and at times, referred to business partners for collaboration. With so much happening, one should be mindful about incorporating brand elements; especially their logo, since all of that works as photography background branding. Keeping well-designed layouts with evenly-placed logos on a plain background helps keep the visual clutter away.
3. Create a Branded Photo Experience That Feels Personal
Customers, nowadays, appreciate and value efforts that are customised. This allows businesses to explore ways to make customers stand out with step and repeat backdrops by incorporating campaign themes, event-specific graphics, or even customer-focused messaging. Think of a theme-based campaign or a simple product launch, when the design is aligned with the occasion, your banner naturally stands out and has a great appeal to each passerby. This personal touch encourages participation and increases the likelihood of attendees engaging with your display.
4. Encourage Interaction Through Strategic Placement
The key to great visibility and engagement lies in the placement. Any step and repeat banner can have a natural appeal when its placement is given thought, that can be where exactly at an entrance and which areas to cover in a lounge. This directly supports the benefits of step and repeat banners for customer engagement by encouraging spontaneous photos and interactions.
5. Use High-Quality Materials for a Premium Brand Impression
When a step and repeat banner is placed at grand events, it is important to look professional, as you’d be competing with multiple marketeers who are also doing their best. The fabric placed on a step and repeat fabric banner offers a crips and clear appearance and does not show wrinkles so that every photograph has a unique identity of its own. Hence, investing in good quality fabric is important, as it ensures your display consistently represents your brand at its best.
6. Reinforce Brand Recall Without Overshadowing Customers
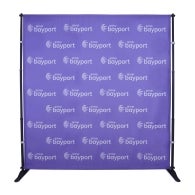
Backdrops that leave the best of impact are the ones that balance visibility and subtlety. Sometimes, while incorporating brand details, some details can be overused, which becomes a reason for your brand missing its opportunity to be recognised. Therefore, come up with a strategy and a few step and repeat banner tips for better brand visibility that could help you maintain this balance. For instance, logos should be evenly spaced, sized appropriately and positioned at varying heights to appear naturally in photos. See the difference yourself and thank us later!
7. Extend the Impact Beyond the Event Floor
The overall brand value your step and repeat banner will deliver doesn’t stop when an event ends. Each picture captured can be reused for conducting email campaigns, social media posting and additional promotional means. Understanding how to use step and repeat banners for customer branding allows businesses to transform one event asset into long-term marketing content. Make sure you encourage your attendees to like, share and repost your pictures so that your brand gain organic engagement and brings in feedback that is entirely based on real customer experiences.
Read Also: 10 Winning Step and Repeat Color Combos
Why Step and Repeat Displays Work So Well at Events
A step and repeat display serves multiple roles simultaneously. It is a great branding medium, a photo backdrop and something that stirs conversations. Step and repeat banner, unlike digital means, remains static throughout the event. This versatility makes it a valuable investment for exhibitors seeking immediate engagement and lasting brand exposure.
Choosing the Right Backdrop for Your Event Goals

Choosing the right custom backdrops depends on the specific theme your event is about, followed by the audience that shows up to it. Trade shows may benefit from clean, logo-driven designs, while experiential events can explore creative visuals or campaign storytelling. On the other hand, when it comes to more interactive activations, one can pair a backdrop with various props and add lighting so that it is transformed into a full photo booth backdrop. This encourages attendees to stay longer and also interact.
Making Step and Repeat Banners Part of Your Event Strategy
Businesses should start looking at step and repeat banners as a vital strategic medium, and not just a decorative background. This marketing tool supports great visibility and brings in customer confidence, while creating moments that can be shared to better your brand reach in an organic way. When designed with clarity and aligned with event objectives, step and repeat banners help businesses create environments where customers feel valued, seen and proud to associate with the brand.
Final Thoughts
At the end of the day, events are about connections and observe closely how some of the most successful brands are the ones that keep their audience as a priority. Step and repeat banners are your way to yield an impact among your customers that lasts. It makes your customer experience better and reinforces brand identity in a very natural way. A few things additionally to keep in consideration are your design, logo placement and the location, once that is covered, you are good to go.